
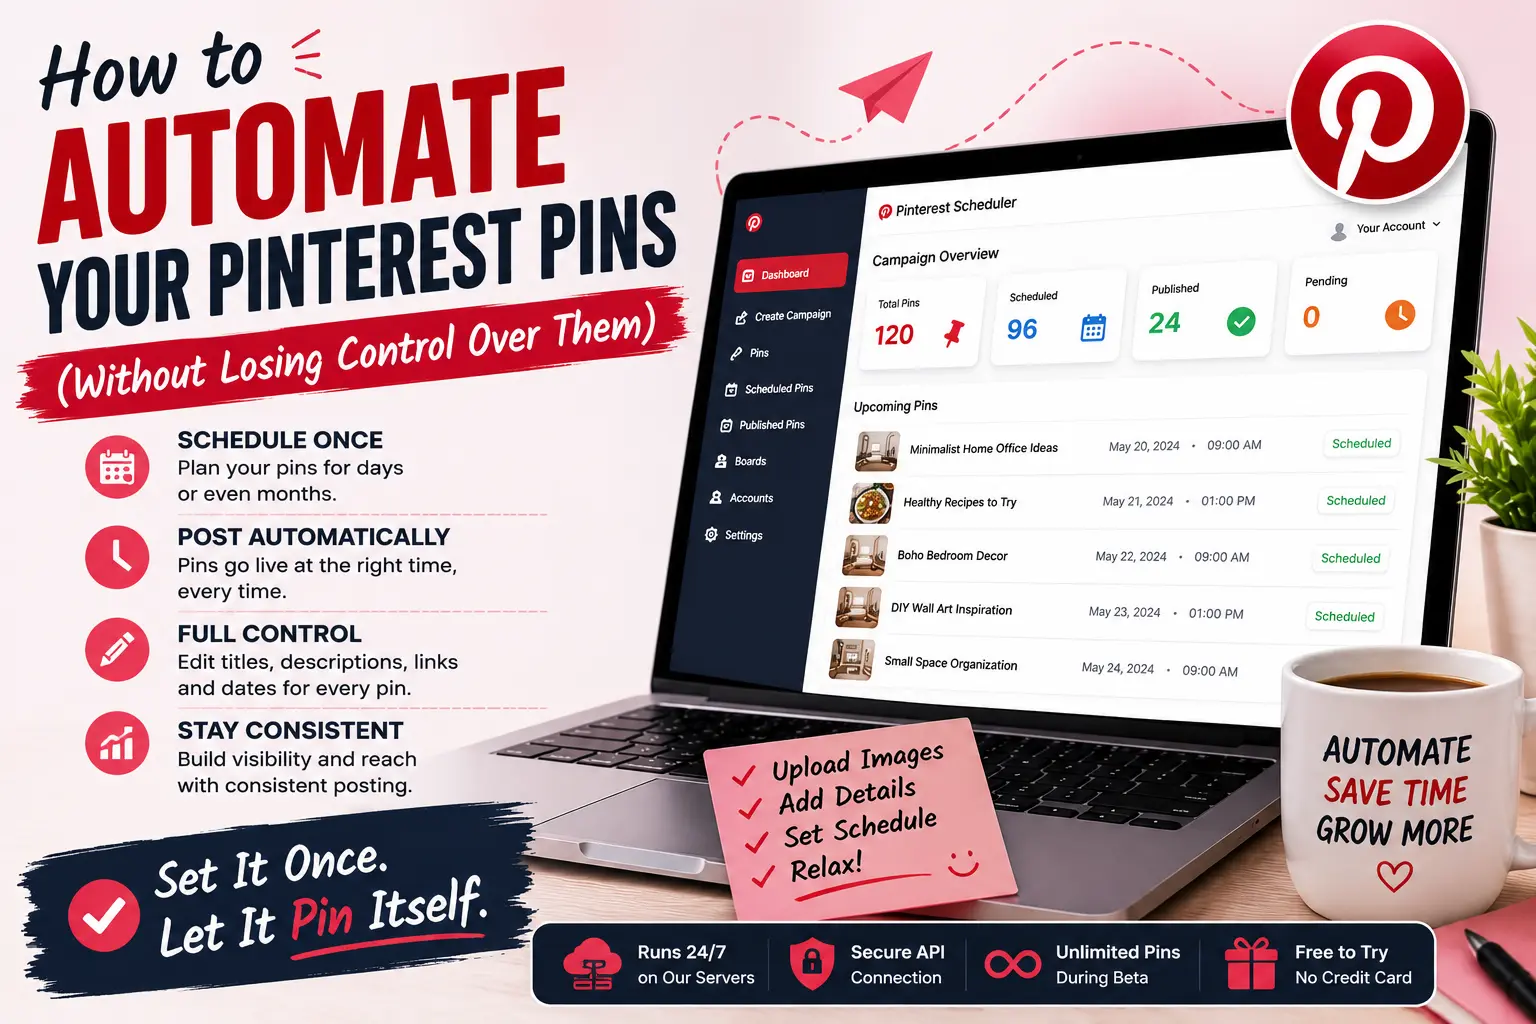
How to Actually Automate Your Pinterest Pins (Without Losing Control Over Them)
If you've ever managed a Pinterest account seriously, you know the routine that quietly burns an entire afternoon: open a board, upload one image, write a title, write a description, hit publish, check the time, open the next board, and do it all over again. Multiply that by thirty pins a month, and it stops being "content marketing" and starts being data entry with extra steps. Somewhere around PIN twelve, most people start wondering if there's a better way — and usually end up either giving up on consistency altogether, or burning a full Sunday afternoon trying to get a month ahead.
That's the exact problem TheSoftCo Pinterest Scheduler was built to remove. Instead of guessing when to post or babysitting uploads one at a time, you set the rules once — timing, frequency, images — and the system carries them out on its own, in the background, even after you've closed the tab. Here's what it actually looks like to use it, from the first login to the moment your pins start going live on their own.
Step 1: Connect Your Pinterest Account
You'll need a free TheSoftCo account to get started, which is a deliberate choice rather than an inconvenience — since the tool connects directly to your real Pinterest account through Pinterest's official API, keeping that connection behind a login protects your data and your API tokens. Once you're signed in, connecting your Pinterest account is a single click, and the scheduler automatically pulls in all your existing boards, so there's no manual re-entry of board names or IDs.
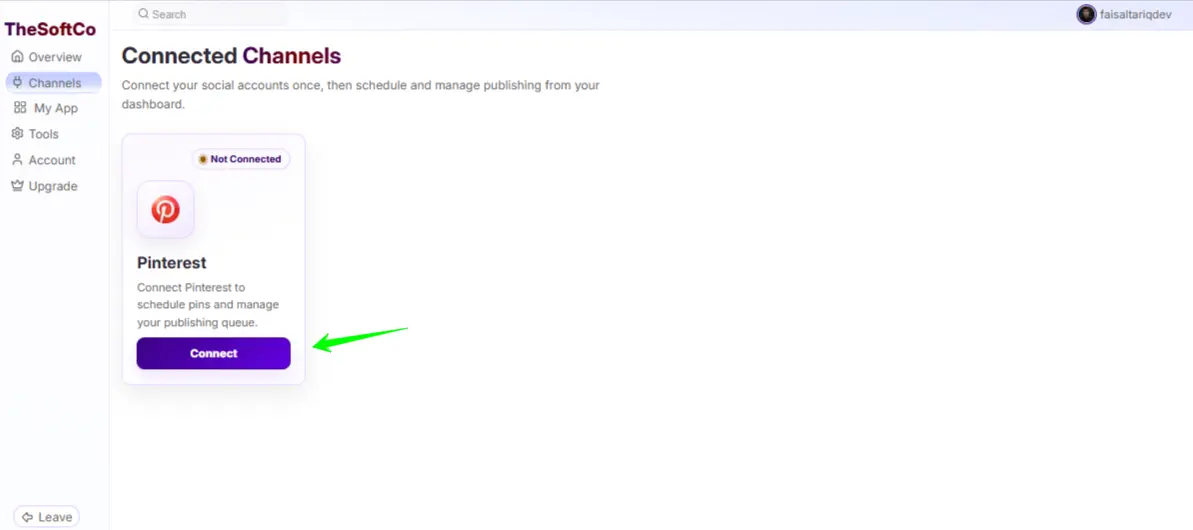
You Can Connect Your Pinterest Account using 2 Ways.
Method 1: Go to your dashboad > channels > there you'll se a Connect Pinterest
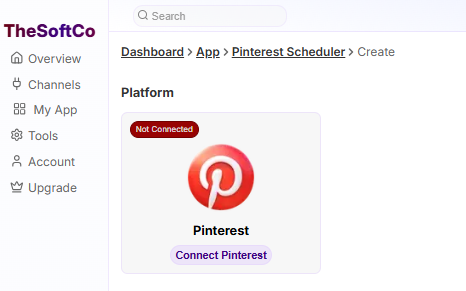
Method 2: Go to Dashboard > My Apps > Pinterest Scheduler > Create Schedule
There you'll get a Connect Pinterset Button. This is our Tool Page!
Step 2: Tell It When and Where
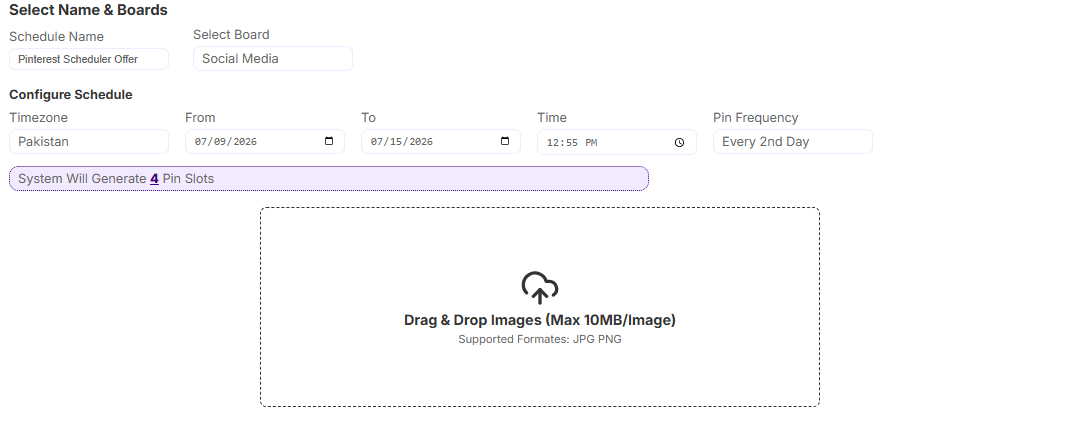
This is the part that used to involve mental math and a lot of guessing. Instead, you pick your timezone once, choose a start date and an end date for your schedule, and set the specific time of day you want pins to go live. If your audience is scattered across different regions, this single setting saves you from ever having to convert time zones in your head again.
Step 3: Choose Your Posting Rhythm
Next you pick how often you want to post — daily, every second day, every third day, business days only, or weekdays only. This is where a lot of the manual guesswork used to creep in, because figuring out exactly how many pin slots that adds up to over a three-week campaign is the kind of math nobody wants to do by hand. The scheduler does it instantly: pick a frequency, and it calculates the exact number of available slots across your chosen date range before you've uploaded a single image.
Step 4: Drag, Drop or Click To Upload, Done
With your slots calculated, you simply drag your images into the upload area — JPG or PNG, up to 10MB each. The order you drop them in is the order they get scheduled in, mapped directly onto the slots you just generated. There's no separate step to assign dates to each image individually; the sequence you choose while uploading becomes the sequence that goes live.
This is genuinely the part that used to take the most time, and now it's the part that takes the least. A month's worth of pins, once you have the images ready, comes together in the time it takes to finish a cup of coffee.
Step 5: Add the Details That Actually Matter
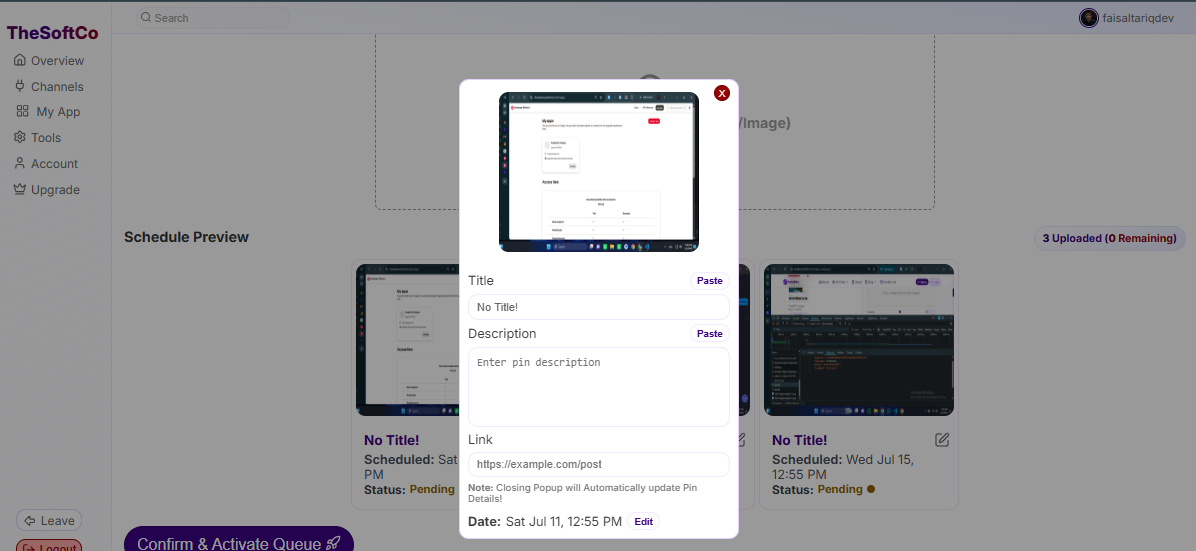
Automation shouldn't mean losing your voice, and this is where that shows. Every pin the system generates comes with its own edit button, and opening it lets you write the actual pin title, a full description, and the destination link it should point to. This is also where a bit of Pinterest SEO pays off — using a clear, keyword-relevant title and a description that describes what someone will actually find if they click through tends to perform noticeably better than a vague or generic one. It's a small habit, but it's also the one step in this whole process that genuinely benefits from a human sitting down and thinking about it for thirty seconds per pin, rather than rushing through on autopilot the way a fully manual upload routine tends to encourage once you've done it forty times in a row.
Step 6: Adjust Anything That Needs a Human Touch
Automated scheduling is convenient right up until a real-world exception shows up — a product launch that needs to go out on an exact date, or a seasonal pin that makes no sense outside of one specific week. For exactly that reason, every individual pin's date and time can be manually overridden without touching the rest of your queue. The system handles the default sequencing; you keep the final say over any pin that needs it.
Step 7: Check In Through the Dashboard
None of this happens invisibly. A dashboard shows every pin you've scheduled, broken down as published, pending, or rejected, alongside the image, title, board, and status for each one. If you're the type who likes to double-check that things actually went out the way you planned, this is where you'll come back to look — not to manage the process, just to confirm it did what you told it to.
Why Bothering With a Schedule Actually Pays Off
It's worth pausing to reflect on why this matters, beyond just saving time. Pinterest tends to reward accounts who post continuously, rather than accounts that post in infrequent bursts - a rush of ten pins one week followed by silence for a month tends to perform worse than the same ten pins spread out evenly. That's part of why the frequency options matter as much as they do: choosing "every second day" over "daily" isn't really about doing less work, since the tool handles both equally easily — it's about matching a pace you can actually sustain with fresh images, so the consistency doesn't quietly stop the moment you run out of content to upload in one sitting.
A Few Things People Usually Ask
Do I need a Business Pinterest account?
The application connects via Pinterest's official API, so it works from the same account you're already pinning from – no extra business-only setup, beyond what Pinterest already needs for API access. If You've Multpile Pinterest Accounts to connect with TheSoftCo, you can go with over Agency Plan.
What happens if I need to change something after it's scheduled?
Nothing is locked in once it's queued. Every pin keeps its edit option available right up until it publishes, so a title, description, link, or even the scheduled date can be changed at any point before it goes live.
Is it safe to connect my real Pinterest account?
The connection runs through Pinterest's official API rather than any workaround, and the dashboard itself sits behind your authenticated TheSoftCo login — the same baseline security approach used for the account data itself.
Getting Started
If your Pinterest workflow still looks like the one-image-at-a-time routine described at the start of this article, the fastest way to see the difference is just to try it on one real campaign. Connect your account, set your dates, drop in a week's worth of images, and watch the slots fill themselves in. There's a small satisfaction in checking the dashboard a few days later and seeing pins marked "Published" that you haven't personally touched since the day you uploaded them — it's a quiet kind of proof that the system is actually doing what you set it up to do. You can get started for free and have your first batch of pins queued up before your coffee's gone cold.
Join the Conversation
Share your perspective, ask thoughtful questions, or leave constructive feedback about this article.